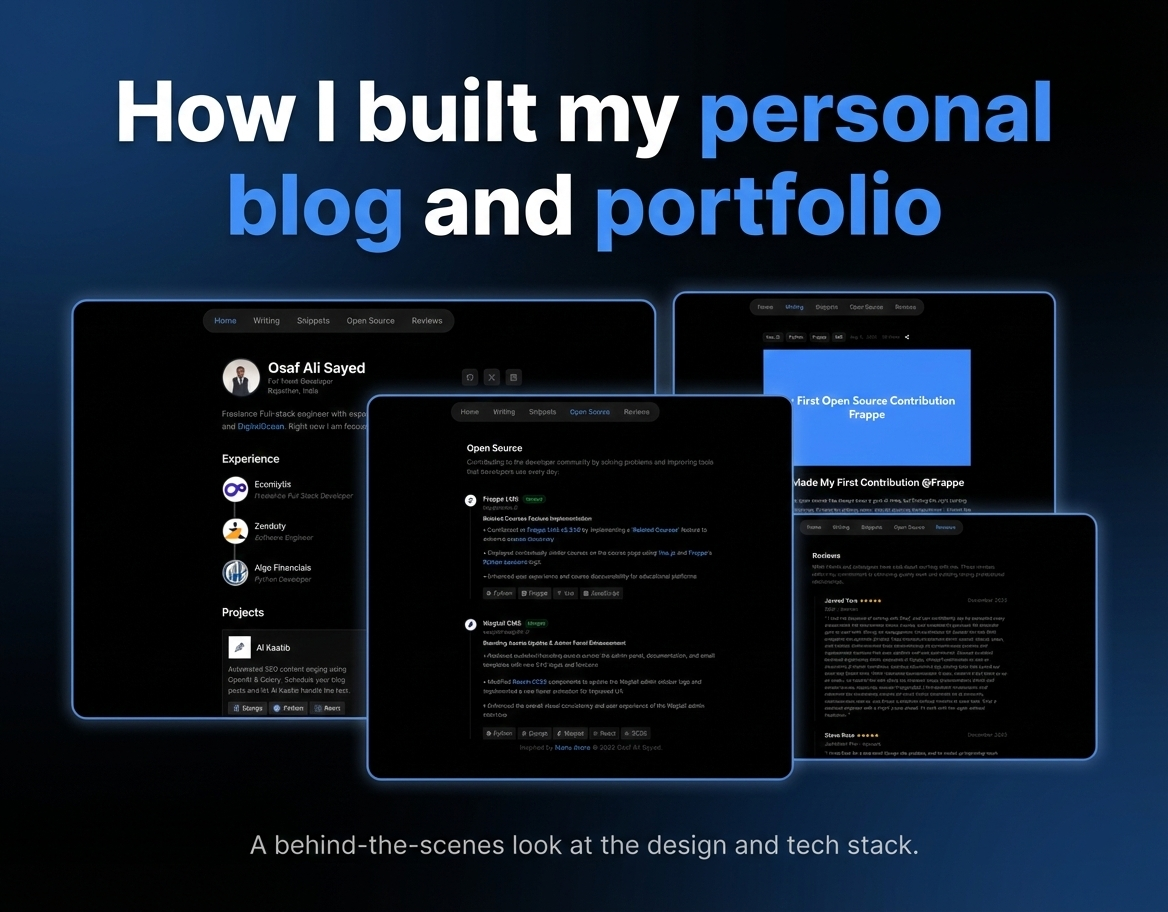
How I Built My Personal Blog & Portfolio
You might be reading this blog on my personal website, which also serves as my portfolio. I use this space to document what I’m building, the decisions I make, and the things I learn along the way as a freelancer.
In this article, I’ll walk through the architecture and implementation of my blog, with one key constraint:
Everything had to be free, portable, and fully under my control.
This blog is aimed at developers who want a zero-cost personal blog without relying on heavy CMS platforms or paid infrastructure.
Goals & Requirements
Before writing any code, I defined a few non-negotiable requirements:
- No paid services (no hosting bills, no subscriptions)
- Content should live in my Git repository
- Easy to migrate or rebuild anytime
- Write blogs in Markdown
- Track blog views to understand reach
- Fast loading, SEO-friendly
In short: I wanted a developer-first blog with full ownership.
System Architecture

The entire system is designed around one core idea:
Everything starts and ends with Git.
There is no traditional backend, no database, and no runtime server logic. The whole blog is built and served as static files.
High-level Flow:
- I write or edit blogs using Decap CMS.
- Decap commits Markdown files directly to my GitHub repository.
- A GitHub Action is triggered on every push.
- The action runs a build step that generates static pages.
- The built site is deployed to www.osafalisayed.com.
Users access the site as plain static HTML.
Markdown → Git → Build → Static Website → User
Content Pipeline
Decap CMS is only responsible for one thing: creating Markdown files and pushing them to Git.
There is:
- No external CMS backend
- No database
- No API calls
GitHub itself becomes my content store, version control system, and backup.
This makes migration trivial:
If Git exists, my entire blog exists.
Build & Deployment
name: Deploy Next.js site to Pages

on:
  # Runs on pushes targeting the default branch
  push:
    branches: ["master"]

  # Allows you to run this workflow manually from the Actions tab
  workflow_dispatch:

  repository_dispatch:
    types: [trigger-deploy]

# Sets permissions of the GITHUB_TOKEN to allow deployment to GitHub Pages
permissions:
  contents: read
  pages: write
  id-token: write

# Allow only one concurrent deployment, skipping runs queued between the run in-progress and latest queued.
# However, do NOT cancel in-progress runs as we want to allow these production deployments to complete.
concurrency:
  group: "pages"
  cancel-in-progress: false

jobs:
  # Build job
  build:
    runs-on: ubuntu-latest
    steps:
      - name: Checkout
        uses: actions/checkout@v4
      - name: Detect package manager
        id: detect-package-manager
        run: |
          if [ -f "${{ github.workspace }}/yarn.lock" ]; then
            echo "manager=yarn" >> $GITHUB_OUTPUT
            echo "command=install" >> $GITHUB_OUTPUT
            echo "runner=yarn" >> $GITHUB_OUTPUT
            exit 0
          elif [ -f "${{ github.workspace }}/package.json" ]; then
            echo "manager=npm" >> $GITHUB_OUTPUT
            echo "command=ci" >> $GITHUB_OUTPUT
            echo "runner=npx --no-install" >> $GITHUB_OUTPUT
            exit 0
          else
            echo "Unable to determine package manager"
            exit 1
          fi
      - name: Setup Node
        uses: actions/setup-node@v4
        with:
          node-version: "20"
          cache: ${{ steps.detect-package-manager.outputs.manager }}
      - name: Setup Pages
        uses: actions/configure-pages@v5
        with:
          # Automatically inject basePath in your Next.js configuration file and disable
          # server side image optimization (https://nextjs.org/docs/api-reference/next/image#unoptimized).
          #
          # You may remove this line if you want to manage the configuration yourself.
          static_site_generator: next
      - name: Restore cache
        uses: actions/cache@v4
        with:
          path: |
            .next/cache
          # Generate a new cache whenever packages or source files change.
          key: ${{ runner.os }}-nextjs-${{ hashFiles('**/package-lock.json', '**/yarn.lock') }}-${{ hashFiles('**.[jt]s', '**.[jt]sx') }}
          # If source files changed but packages didn't, rebuild from a prior cache.
          restore-keys: |
            ${{ runner.os }}-nextjs-${{ hashFiles('**/package-lock.json', '**/yarn.lock') }}-
      - name: Install dependencies
        run: ${{ steps.detect-package-manager.outputs.manager }} ${{ steps.detect-package-manager.outputs.command }}
      - name: Build with Next.js
        run: ${{ steps.detect-package-manager.outputs.runner }} next build
      - name: Upload artifact
        uses: actions/upload-pages-artifact@v3
        with:
          path: ./out

  # Deployment job
  deploy:
    environment:
      name: github-pages
      url: ${{ steps.deployment.outputs.page_url }}
    runs-on: ubuntu-latest
    needs: build
    steps:
      - name: Deploy to GitHub Pages
        id: deployment
        uses: actions/deploy-pages@v4
Every push to the repository triggers a GitHub Action.
That action:
- Triggers the build process
- Generates static pages
- Outputs a fully built website
- Deploys it on Github Pages
This is pure Static Site Generation (SSG):
- No runtime rendering
- No cold starts
- No server load
The final output is just static files served to the user.
Analytics & View Tracking
For tracking blog views, I use PostHog.
The flow is:
- Users visit my website.
- A lightweight PostHog script tracks page views.
- Once a week, a GitHub Action pulls view stats.
- These stats are used during the next build, which is triggered in the same workflow.
This keeps analytics:
- Completely decoupled from content
- Non-blocking for performance
- Invisible to the core system
Why This Architecture Works So Well
This setup gives me:
- Zero hosting cost
- No backend maintenance
- Full ownership of content
- Instant page loads
- No vendor lock-in
And most importantly:
My blog is just files and code.
Which means I can rebuild it anywhere, anytime.
Content Management: Why Decap CMS
The first real decision was: How do I write my blogs?
Most CMS options fell into two categories:
- Paid
- free but locked into an ecosystem
Since I already write most of my notes in Markdown, I wanted something that:
- Supports Markdown natively
- Doesn’t require a separate backend
- Can run locally
That’s why I chose Decap CMS.
It lets me:
- Write Markdown visually if I want
- Store everything directly in Git
- Keep my workflow simple
As I scale, I can even host Decap remotely and write from anywhere - but without changing my architecture.
Why I Didn’t Use a Database
I considered options like Supabase and Firebase, but storing Markdown articles in a relational database felt wrong.
At my current stage:
- I don’t need real-time features
- I’m not tracking likes or comments
- I just need content + pages
A Git repo already gives me:
- Version history
- Backup
- Portability
So I kept it simple.
Rendering Markdown with Static Site Generation
Once the content lives in Git, the next problem is:
How do I turn Markdown into real pages?
The solution is Static Site Generation (SSG).
During build time:
- The app reads all Markdown files
- Parses them using remark
- Enhances code blocks with rehype-highlight
Generates one static page per blog
This means:
- No server rendering
- No database queries
- No cold starts
Everything is pre-built and served as plain HTML.
This is done using the generateStaticParams method in Next.js:
export async function generateStaticParams() {
  const slugs = getAllPostSlugs();
  return slugs.map((slug) => ({
    slug: slug,
  }));
}
followed by a simple getAllPostSlugs function, which fetches all the post slugs based on file names from the content directory
export function getAllPostSlugs() {
  try {
    ensurePostsDirectory();
    const fileNames = fs.readdirSync(postsDirectory);
    return fileNames
      .filter(name => name.endsWith('.md'))
      .map(name => name.replace(/\.md$/, ''));
  } catch (error) {
    console.error('Error reading posts directory:', error);
    return [];
  }
}
Once you have all the content of a blog in markdown, you simply convert it into HTML using remark and finally render it by creating a BlogContent component. The entire purpose of this component is to basically make sure the right things are highlighted and styled properly based on your site design.
'use client';

import { useEffect, useRef } from 'react';

export default function BlogContent({ contentHtml }) {
  const contentRef = useRef(null);

  useEffect(() => {
    if (contentRef.current) {
      const preElements = contentRef.current.querySelectorAll('pre');

      preElements.forEach((pre) => {
        if (pre.querySelector('.copy-button-container')) return;

        pre.style.position = 'relative';
        pre.classList.add('group');
        // Ensure there's room at the top for the language badge (in case global CSS wasn't loaded yet)
        pre.style.paddingTop = pre.style.paddingTop || '1.25rem';

        const codeElement = pre.querySelector('code');

        // Ensure .hljs class is present so our CSS rules apply (rehype-highlight usually adds this)
        if (codeElement && !codeElement.classList.contains('hljs')) {
          codeElement.classList.add('hljs');
        }

        // Determine language from class (e.g. language-python)
        let lang = '';
        if (codeElement && codeElement.className) {
          const classes = codeElement.className.split(/\s+/);
          for (const c of classes) {
            if (c.startsWith('language-')) {
              lang = c.replace('language-', '');
              break;
            }
          }
        }

        // Language badge (left)
        if (lang) {
          const langBadge = document.createElement('span');
          langBadge.className = 'language-badge absolute top-[0.25rem] left-2 text-[10px] font-mono text-neutral-300 bg-white/5 px-1.5 rounded';
          langBadge.textContent = lang;
          pre.appendChild(langBadge);
        }

        // Copy button container (right)
        const buttonContainer = document.createElement('div');
        buttonContainer.className = 'copy-button-container absolute top-2 right-2 opacity-0 group-hover:opacity-100 transition-opacity';

        const button = document.createElement('button');
        button.className = 'p-1.5 bg-white/10 hover:bg-white/20 border border-white/20 rounded text-neutral-300 hover:text-white transition-colors text-xs font-mono min-w-[44px] h-[28px] flex items-center justify-center';
        button.textContent = 'Copy';
        button.setAttribute('aria-label', 'Copy code');

        // Copy fresh code text on click (handles highlighted spans)
        button.addEventListener('click', async () => {
          try {
            const codeText = codeElement ? codeElement.textContent : pre.textContent;
            await navigator.clipboard.writeText(codeText);
            button.textContent = '✓';
            button.style.color = '#10b981';
            setTimeout(() => {
              button.textContent = 'Copy';
              button.style.color = '';
            }, 2000);
          } catch (err) {
            console.error('Failed to copy text: ', err);
          }
        });

        buttonContainer.appendChild(button);
        pre.appendChild(buttonContainer);
      });
    }
  }, [contentHtml]);

  return (
    <div
      ref={contentRef}
      className="prose prose-sm dark:prose-invert max-w-none
        prose-headings:text-neutral-100 prose-headings:font-bold prose-headings: tracking-tighter
        prose-h2:text-2xl
        prose-h3:text-xl
        prose-p:text-neutral-300 prose-p:leading-7 prose-p:font-base
        prose-a:text-blue-400 prose-a:no-underline hover:prose-a:underline hover:prose-a:text-blue-300
        prose-strong:text-neutral-200
        prose-code:text-neutral-200 prose-code:px-1.5 prose-code:py-0.5 prose-code:rounded prose-code:text-xs prose-code:font-mono
        prose-pre:bg-white/5 prose-pre:border prose-pre:border-white/10 prose-pre:text-neutral-300 prose-pre:relative
        prose-blockquote:border-l-blue-500 prose-blockquote:text-neutral-400 prose-blockquote:bg-white/5 prose-blockquote:px-4
        prose-hr:border-white/10
        prose-ul:text-neutral-300 prose-ul:list-disc prose-ul:ml-6 prose-ul:space-y-1
        prose-ol:text-neutral-300 prose-ol:list-decimal prose-ol:ml-6 prose-ol:space-y-1
        prose-li:text-neutral-300 prose-li:marker:text-neutral-500
        prose-table:text-neutral-300
        prose-thead:border-white/10
        prose-tr:border-white/10
        prose-th:text-neutral-200
        prose-td:text-neutral-300"
      dangerouslySetInnerHTML={{ __html: contentHtml }}
    />
  );
}
Even though we are dangerously setting the HTML content here, we won't have to worry about XSS attacks because:
- The content is rendered during build time and completely controlled by me not the users.
- There is no direct user input were user can just inject content and run it on the server.
- There is a remark → rehype pipeline in /blog/[slug]/page.jsx that makes sure that all HTML tags are escaped and are safe for rendering
Limitations
This architecture serves my purpose fully however it does have its own limitations:
- No real-time features: real-time features usually require a backend and a database support for this to work smoothly. It is definitely something that I can upgrade on in future.
- Build time increases as content grows: As the number of articles increase the build time for my static site can increase alot. Until this happens I am sticking with this architecture only🤷♂️
- No built-in analytics: I am unable to get reviews on the content of my blog as of now. This is something I will definitely add once I start getting lots of visiters daily.
Monitoring & Reliability
One thing most personal sites ignore is monitoring.
There have been times when I opened my own site and saw a 404. Which means it could’ve been down for hours without me knowing.
So I added Uptime Robot.
Now:
- My site is checked every few minutes
- I get alerts if it goes down
- There’s a public status page for users. You can view it here.
If the site is ever unavailable, I can redirect users to the status page instead of showing a broken site.
Final Thoughts
This blog is not just a website - it’s part of my learning system.
It helps me:
- Think more clearly
- Document decisions
- Build a public knowledge base
- Showcase how I approach engineering problems
The tech stack is simple. The real value is owning the entire pipeline from idea → Markdown → deployed product.
And the best part?
I can nuke the whole thing tomorrow and rebuild it in an hour😂. No lock-in. No dependencies. Just files and code.