How to Deploy Django on DigitalOcean or Any VPS (Gunicorn + Traefik)
Most Django tutorials end right where the real work begins. They show you runserver, drop a warning that it's "not for production," and walk away. This guide picks up from there — provisioning the server, running Django under Gunicorn, and routing traffic through Traefik with automatic HTTPS.
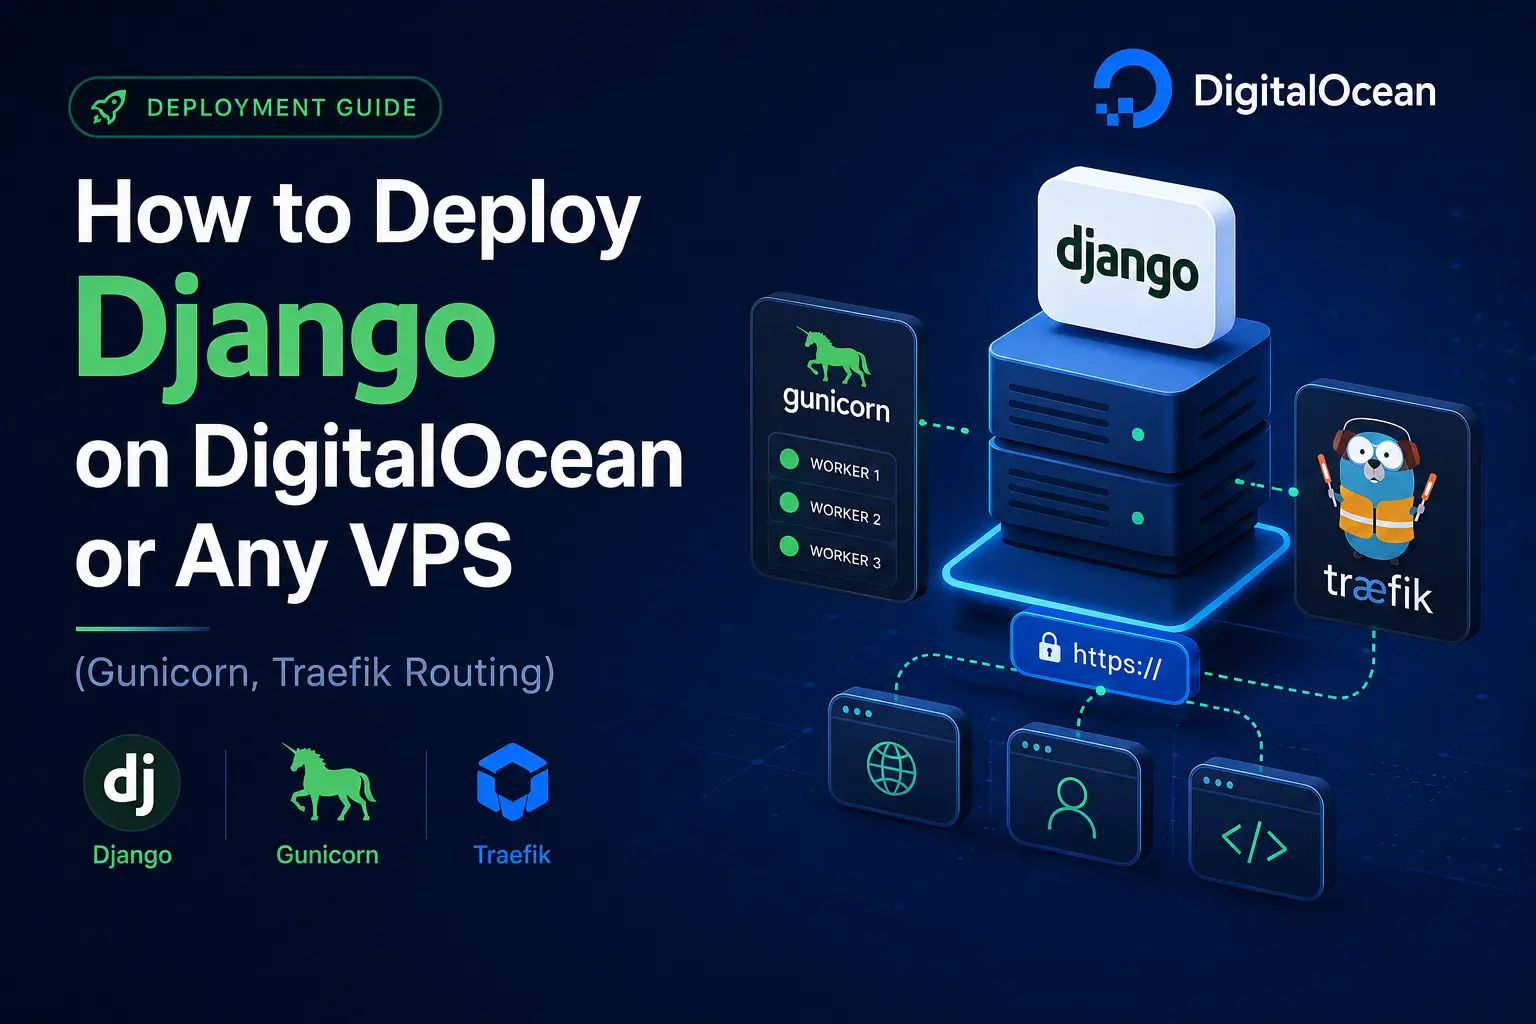
This setup works on DigitalOcean Droplets, Linode, Hetzner, AWS EC2, and any other VPS running Ubuntu 22.04.
If you're a client who'd rather skip all of this, contact me directly. I've done this dozens of times and can get you sorted faster.
What You'll Have When This Is Done
- A containerized Django application
- Gunicorn running as a proper WSGI server, surviving crashes and reboots
- Traefik handling SSL termination, HTTP-to-HTTPS redirects, and routing
- Automatic HTTPS via Let's Encrypt — no manual certificate renewal
Step 1: Provision the Server
Spin up a Droplet (or equivalent) with Ubuntu 22.04 LTS and at least 1 GB of RAM. Point a domain name at the server's IP using an A record before you do anything else — Traefik needs DNS to work when it requests certificates.
I use Hostinger for my personal projects because it's where I keep all my DevOps stuff, but DigitalOcean is just as good if you want a clean UI and good documentation.
Once the server is up, generate an SSH key locally with ssh-keygen and upload your public key to ~/.ssh/authorized_keys on the server. That's how you'll log in without a password from here on.
Step 2: Set Up Traefik
Setting things up directly on the server is messy. It's hard to reproduce, hard to debug, and a nightmare to maintain six months later. Install Docker and Docker Compose on the server first, then everything else gets containerized.
Once Docker is running, create a docker-compose.yml for Traefik:
name: traefik

services:
  traefik:
    image: traefik:latest
    restart: unless-stopped
    command:
      # Logging
      - '--log.level=INFO'
      - '--accesslog=true'

      # Docker provider
      - '--providers.docker=true'
      - '--providers.docker.exposedbydefault=false'
      - '--providers.docker.network=traefik'

      # Entrypoints
      - '--entrypoints.web.address=:80'
      - '--entrypoints.websecure.address=:443'

      # SSL — this is the part that actually matters
      - '--certificatesresolvers.letsencrypt.acme.tlschallenge=true'
      - '--certificatesresolvers.letsencrypt.acme.email=<your-email>'
      - '--certificatesresolvers.letsencrypt.acme.storage=/letsencrypt/acme.json'

      # HTTP → HTTPS redirect
      - '--entrypoints.web.http.redirections.entrypoint.to=websecure'
      - '--entrypoints.web.http.redirections.entrypoint.scheme=https'
      - '--entrypoints.web.http.redirections.entrypoint.permanent=true'

    volumes:
      - '/var/run/docker.sock:/var/run/docker.sock:ro'
      - './data/letsencrypt:/letsencrypt'
      - './data/traefik:/etc/traefik'

    labels:
      - "traefik.enable=true"

    ports:
      - "80:80"
      - "443:443"
      - "8080:8080" # Dashboard (remove this in production)

    networks:
      - traefik
      - project-a-network
      - traefik-dozzle

networks:
  traefik:
    name: traefik
  project-a-network:
    name: project-a-network
  traefik-dozzle:
    name: traefik-dozzle
The SSL block is the thing people most often get wrong when they try to set this up with Nginx directly. With Traefik, it's three lines and it just works — Let's Encrypt handles the certificate, renewal is automatic, and you never touch it again. I've deployed maybe fifteen applications this way and never once had a certificate expire on me.
Run it with:
docker compose -f <docker-compose.yml path> up
Watch the logs for a minute. If nothing's on fire, press d to detach and let it run in the background.
Step 3: Dockerize Your Django App
Traefik routes traffic based on Docker labels and networks. Any application you want to sit behind it needs to be on the Traefik network and have the right labels. That's it.
Start with a Dockerfile. The one below uses Python 3.11 slim, installs dependencies, collects static files, and hands off to Gunicorn:
FROM python:3.11-slim

ENV PYTHONUNBUFFERED=1 \
    PYTHONDONTWRITEBYTECODE=1 \
    PIP_NO_CACHE_DIR=1 \
    PIP_DISABLE_PIP_VERSION_CHECK=1

WORKDIR /app

RUN apt-get update && apt-get install -y --no-install-recommends \
    gcc \
    && rm -rf /var/lib/apt/lists/*

COPY requirements.txt .
RUN pip install --no-cache-dir -r requirements.txt

COPY . .

RUN mkdir -p /app/data && chmod 755 /app/data

RUN python manage.py collectstatic --noinput

RUN useradd -m -u 1000 appuser && \
    chown -R appuser:appuser /app
USER appuser

EXPOSE 8000

CMD ["gunicorn", "--bind", "0.0.0.0:8000", "--workers", "4", "--timeout", "120", "project3.wsgi:application"]
Keep the Dockerfile and docker-compose.yml separate. I know it feels like extra files for no reason, but the moment something breaks in production at 2am you'll be glad you can read each file in isolation.
Here's the docker-compose.yml for the application itself. Notice it joins the external traefik network we created earlier, and the labels tell Traefik exactly where to send traffic:
version: '3.8'

services:
  web:
    build: .
    container_name: mail_app
    restart: always
    expose:
      - "8000"
    volumes:
      - sqlite_data:/app/data
      - media_files:/app/media
    environment:
      - DJANGO_SETTINGS_MODULE=project3.settings
      - DJANGO_SECRET_KEY=${DJANGO_SECRET_KEY:-your-secret-key-change-this}
      - DJANGO_DEBUG=False
      - DJANGO_ALLOWED_HOSTS=${DJANGO_ALLOWED_HOSTS:-smartmail.osafalisayed.com,localhost,127.0.0.1}
      - DJANGO_DB_PATH=/app/data/db.sqlite3
      - OPENAI_API_KEY=${OPENAI_API_KEY}
    networks:
      - traefik
      - internal
    labels:
      - "traefik.enable=true"
      - "traefik.docker.network=traefik"

      # HTTP router
      - "traefik.http.routers.smartmail.rule=Host(`smartmail.osafalisayed.com`)"
      - "traefik.http.routers.smartmail.entrypoints=web"
      - "traefik.http.routers.smartmail.middlewares=smartmail-redirect"

      # HTTPS router
      - "traefik.http.routers.smartmail-secure.rule=Host(`smartmail.osafalisayed.com`)"
      - "traefik.http.routers.smartmail-secure.entrypoints=websecure"
      - "traefik.http.routers.smartmail-secure.tls=true"
      - "traefik.http.routers.smartmail-secure.tls.certresolver=letsencrypt"

      # HTTP → HTTPS redirect middleware
      - "traefik.http.middlewares.smartmail-redirect.redirectscheme.scheme=https"
      - "traefik.http.middlewares.smartmail-redirect.redirectscheme.permanent=true"

      # Service port
      - "traefik.http.services.smartmail.loadbalancer.server.port=8000"

    healthcheck:
      test: ["CMD", "python", "-c", "import urllib.request; urllib.request.urlopen('http://localhost:8000')"]
      interval: 30s
      timeout: 10s
      retries: 3
      start_period: 40s

networks:
  traefik:
    external: true
  internal:
    driver: bridge

volumes:
  sqlite_data:
    driver: local
  media_files:
    driver: local
A few things worth pointing out here. The traefik network is marked external: true - that's what links it to the Traefik instance running in the other compose file. The expose directive (not ports) means port 8000 is only visible to other containers on the same Docker network, never directly to the internet. Traefik is the only thing that talks to it from outside.
I've kept this example on a subdomain. You can use the main domain just as easily — swap the Host() rule in the labels.
Fill in your .env file, then run:
docker compose -f <filename.yml> up
Watch for errors, detach when it's stable.
One note: this example uses SQLite, which is fine for personal projects or demos. If you're running something with real traffic, swap it for PostgreSQL and pass in a
DATABASE_URLinstead.
Step 4: Point Your Domain at the VPS
At this point both containers are running. Go to your domain registrar, create an A record pointing your domain (or subdomain) to the server's IP, and wait for DNS to propagate.
The good part about this setup is that you can point as many subdomains at the same IP as you want. Each application gets its own docker-compose.yml with its own Traefik labels, and Traefik routes them all independently. You can run five different apps on one $6/month VPS without them stepping on each other.
That's the whole thing. One Traefik instance, unlimited applications, automatic SSL. Once it clicks, you stop thinking about servers as a problem and start thinking about them as cheap.
Related Topics Worth Reading Next
- How CI/CD with GitHub Actions fits into this — you can automate the
docker compose upstep on every push to main, so deployments happen without SSH access - Django vs FastAPI for APIs — if you're building a pure API backend, FastAPI is worth comparing before you commit to Django
- PostgreSQL query optimisation — once your app is live and getting traffic, the database is usually the first thing that slows down
- What a VPS actually is and why shared hosting doesn't cut it — if you're sharing this guide with someone newer to backend infrastructure, this is the prerequisite